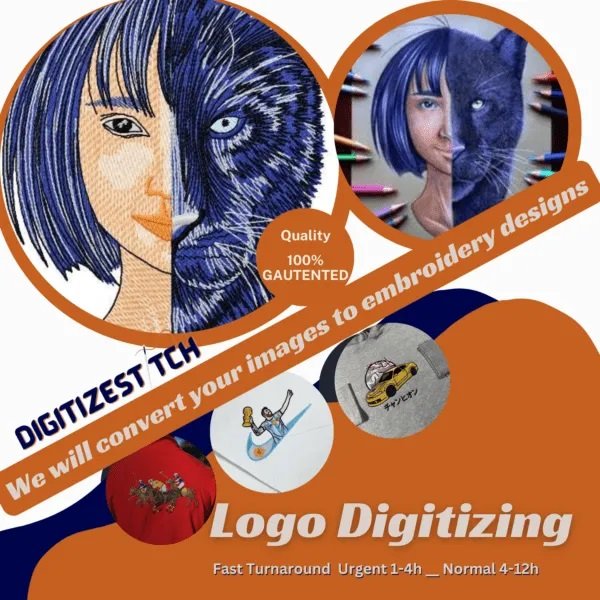
Got a logo you love? That’s a great start. But if you want it to work for embroidery—on hats, jackets, bags—you can’t use it as-is.
Embroidery doesn’t read images like a printer. It needs something else: a stitch file. And that’s where digitizing comes in. This guide explains how to digitize logo for embroidery and why it’s important.
What Is Digitizing, Really?
Think of digitizing as “translating” your logo. You’re taking something built in pixels (like JPG or PNG) and turning it into something built in stitches. It’s not automatic. You can’t just press a button.
Each part of your logo—lines, curves, letters—has to be redrawn in stitch paths. The digitizer decides what kind of stitch to use, how tight it should be, and what direction it runs. And the better the digitizing? The better the final embroidery looks.
When To Digitize (And Why Not Wait)
To stitch your logo on items like shirts, caps, uniforms, or bags, you need a digitized file first. Trying to use a regular image file won’t work. Machines don’t understand it. Even resizing or converting it won’t help. You need a real stitch-ready file.
So don’t wait until the last minute. Get it done early. That way, when you’re ready to order products, you’re not stuck at step one. Digitizing first lets you test things like thread colors and product placement. You can do this without rushing.
Size And Placement Matter From The Start
Before digitizing, ask yourself: where’s the logo going? A design that works on a hoodie back might not fit on a cap. A logo meant for a tote bag could look weird on a sleeve.
That’s why most pros use an embroidery size chart. It shows the right design sizes for different products. For example, use 3.5 inches wide for a left chest and 2 inches tall for a hat front. Size affects everything. Small logos need simpler details. Large logos need more structure. When the size is wrong, your final piece won’t look right—no matter how good the file is.
Want It To Pop? Try 3D Puff
Some logos aren’t flat—and that’s the point. 3D puff embroidery gives your design a thick, raised look. It’s perfect for hats or jackets where you want to stand out. But puff isn’t just a style. It’s a different kind of digitizing. The stitch paths change. The spacing changes. And there’s foam involved under the thread that gives the logo its lift.
If the digitizing isn’t done for puff, it won’t work. You’ll end up with messy stitches or broken outlines. If you want puff, make sure your digitizer knows it from the start.
Digitizing For Custom Patches
Sometimes it’s better to stitch your logo on a patch, not directly on the product. That gives you more control—and more style options. Custom embroidered patches work great for uniforms, caps, bags, and even merch. But they still need digitizing.
The file needs to match the patch size and shape. The design has to sit in the center. The border must stay clean and even. Some patches are tiny. Some are bold. Either way, the digitizing controls how they look and feel once stitched. So don’t skip this step just because it’s a patch. The rules still apply.
How To Know You’re Working With A Pro
A good digitizer won’t just trace your image.
They’ll ask questions like:
- What fabric are you using?
- Where will the logo go?
- What’s the final size?
- Are you using puff or flat embroidery?
They’ll also use the embroidery size chart to match your design with your product. If they don’t ask these things—or give you the same file for everything—that’s a red flag. Working with trusted embroidery digitizing services USA means fewer mistakes and faster turnarounds.
Preparing For Future Uses
Once you have a good digitized logo, you can reuse it in many ways. But each product may need a different version of the file. One for hats. One for patches. One for the back of a hoodie.
Don’t try to resize files yourself. It usually breaks the stitch structure. Instead, ask your digitizer to make different sizes based on where the logo will go. That way, you stay ready—no matter what product comes next.


